Angular and Redux. The Angular way
Redux has always been a part of the React ecosystem. Today we explore how the concept of Redux can be applied to an Angular application!
Most of us almost always associate Redux with React but it shouldn’t be. Redux is a merely a library that adopts the Redux pattern, which inturn was inspired by Facebook’s Flux pattern! It’s a guide that helps you determine how to manage your state and your views. Since it’s a pattern it can be applied to a lot of technologies not limited to javascript built apps alone! This article focuses on how we apply Redux to an Angular application, the Angular way.
If you are unfamiliar with both of these technologies, here are some links that might help you.
Together we will be building a simple application that todo application with the following features.
- Create an application with a todo feature.
- User will be able to see a list of todos.
- User will be able add a todo in the list.
- User will be able to toggle the status of a todo by clicking a checkbox.
- User will be able to delete a todo from the list.
- User will be able to see how many todos have been finished.
This is a simple application, and I know most of these features can be implemented using Angular alone. It’s not always necessary to use the Flux pattern in every scenario. In fact redux has an entry in their faq page about when to use it. The Redux pattern keeps state in a centralized store, and we don’t want to keep large amounts of unnecessary objects in our store because it can greatly impact our application’s performance.
For the sake of learning we will be heavily relying on the Flux pattern to manage our state and views. And if you’re up for the challenge, you can optimize the application by determining what data needs to be in the centralized store and what should be removed.
Tookit
Here are some tools we need in our arsenal to create an Angular app implementing the Flux pattern.
These tools what I use. Feel free to use any tool you want, or better yet make your own tools!
npmoryarn- A NodeJS package manager.@angular/cli- The official command line tool for Angular applications. Helps us build our apps faster.@ngrx/store- A library inspired by redux that helps us implement Flux in our app.bootstrap- Makes our app pretty on top of providing us witha ton of accessibility.
Setting up our Angular application
Installing the angular cli
npm install -g @angular/cli
Verify the installation
npm -v

Creating our application.
ng new angular-redux --style=scss --routing
The parameter --routing creates a app-router.module.ts file for us in the app folder and the --style=scss defaults our application to use scss instead of plain css. I prefer scss since the stylesheets are easier to write, and a nice perk of using scss is that we get to import bootstrap as an scss library and customize it!
Add the tools we mentioned earlier.
npm install --save bootstrap @ngrx/store
Let’s start the app!
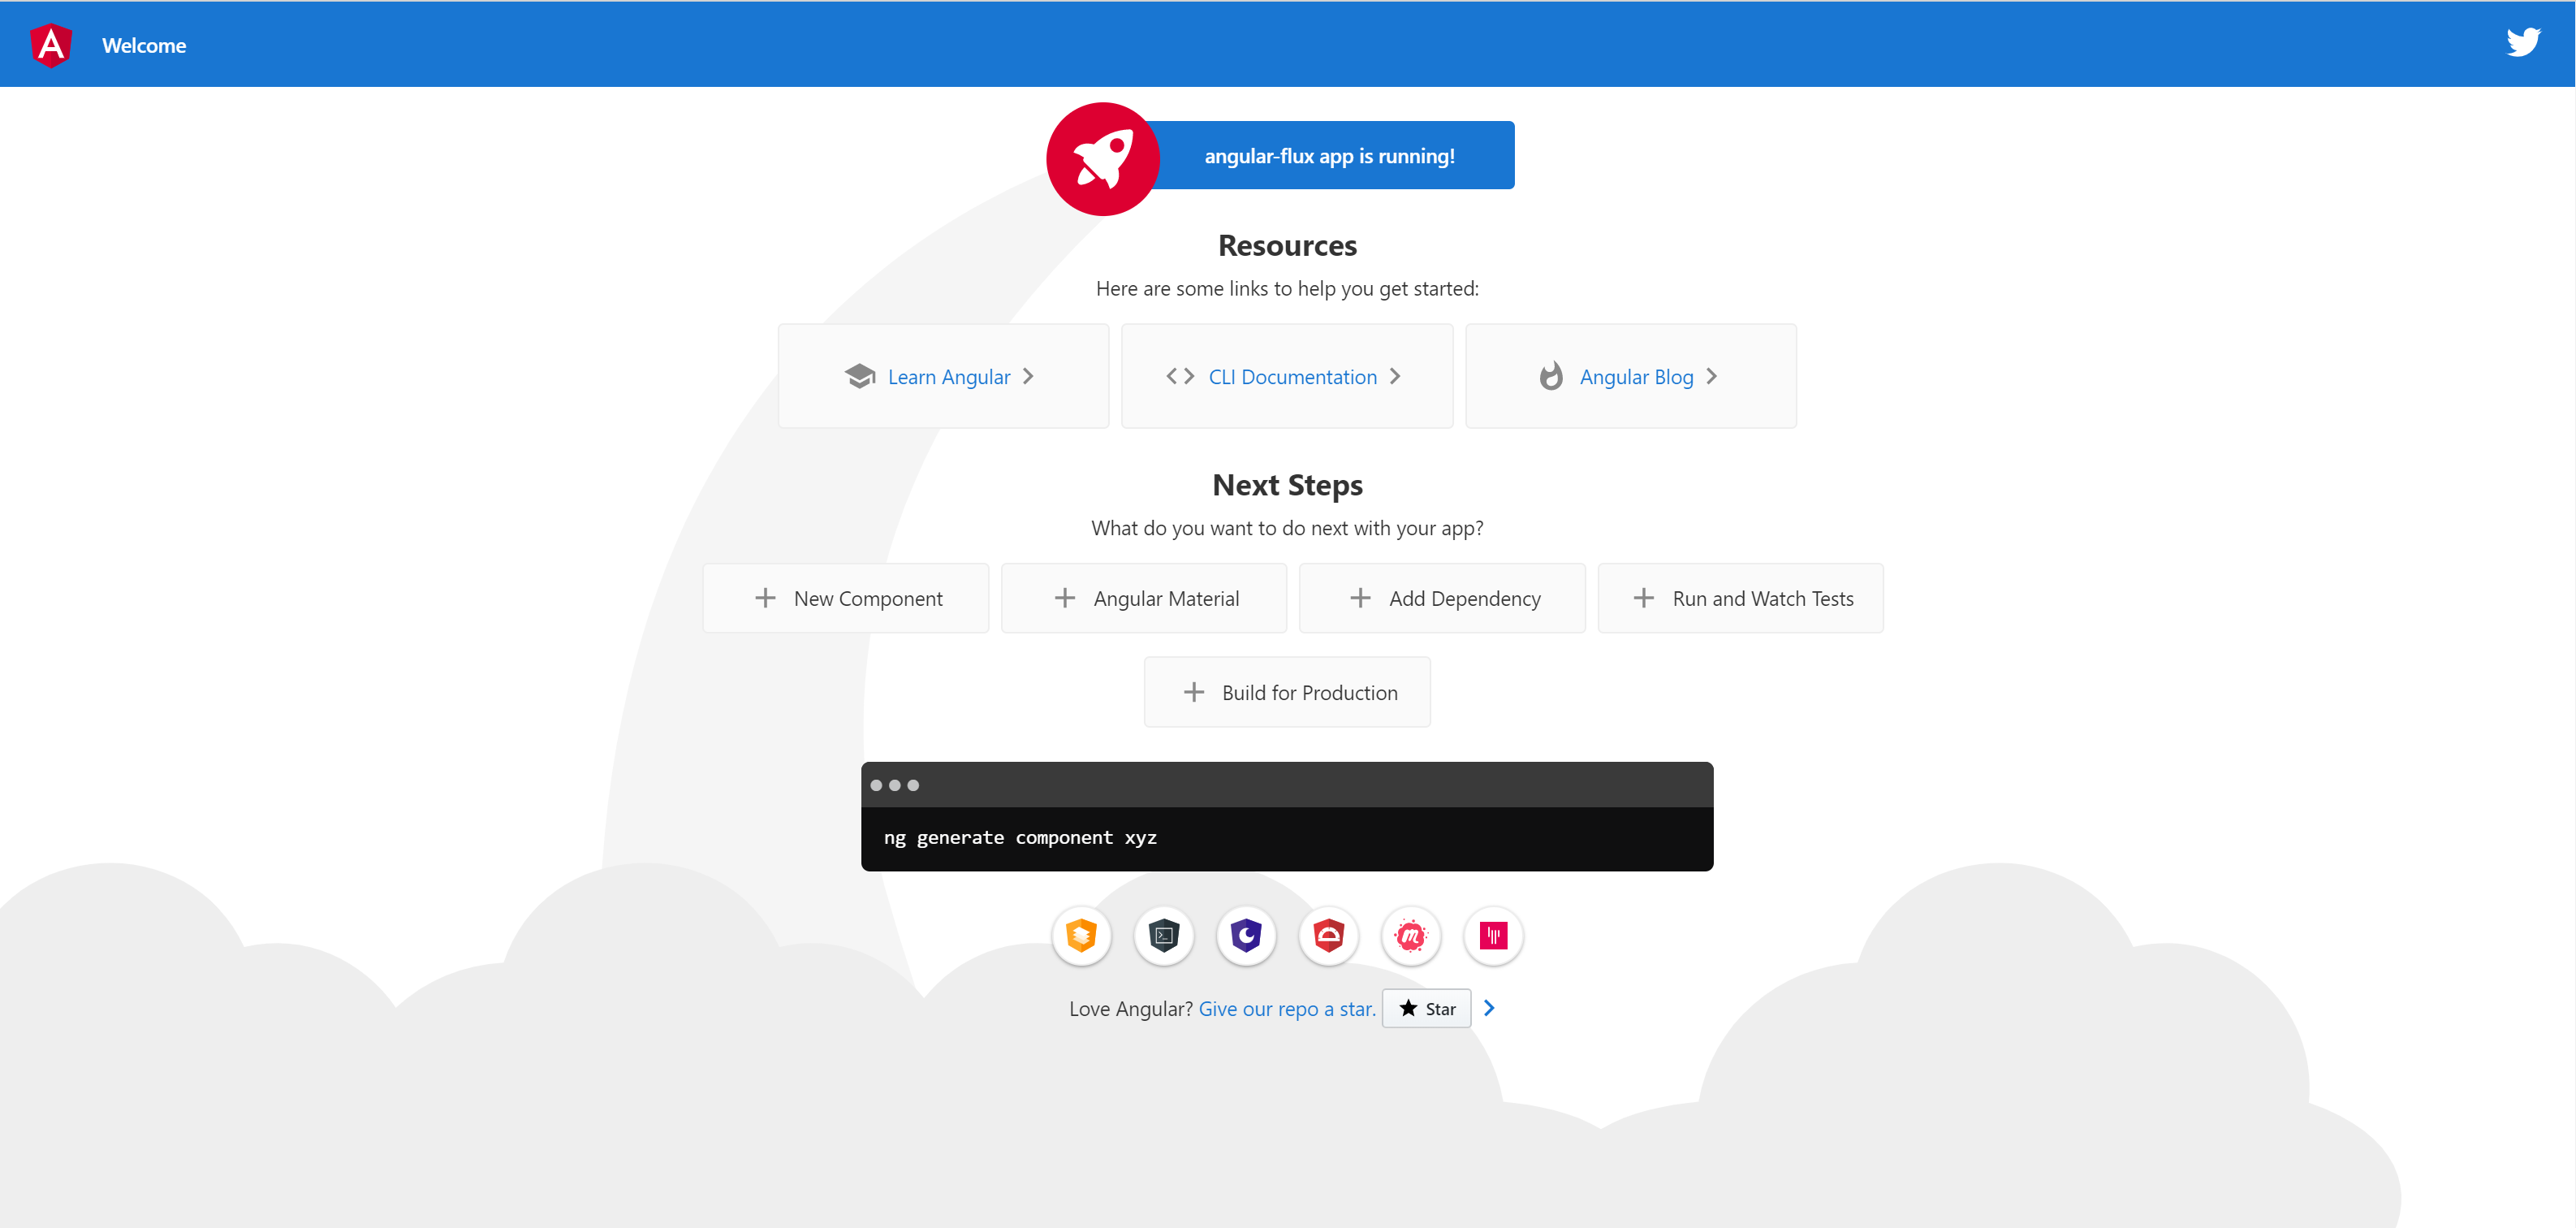
ng serve -o
The parameter -o automatically opens up a browser windows for us once angular is up and running. Once it is, we should be able to see this!
Scaffolding the Todo Feature Module
Let’s build out a scaffolding of your Todo feature.
- Create a todo module with routing enabled.
- Create a todo item component.
- Create a todo list component.
- Create a todo-shell container which will hold our components.
I prefer creating a shell component to house the list component. This way if in the future i decide to use the list component somewhere else, I simply import and use that list component.
ng g m todo --routing
ng g c todo/components/todo-item
ng g c todo/components/todo-list
ng g c todo/shells/todo-shell
Routing and Displaying the Feature Module
Now that we’ve scaffolded our feature. Let’s wire up the pages and routing!
In Angular we can think of feature modules as separate application, some time in the future these modules are going to get quite large and might affect our initial loading times (which is very important). So we might want to load these modules only when our users want to use them, and this can be achieved by lazy loading. You can read more about it here.
To lazy load a module, we just need to leverage the import statement in our root application router. And bind a path using loadChildren instead of component.
> src/app/app-routing.module.ts
...

const routes: Routes = [
  { path: '', loadChildren: () => import('./todo/todo.module').then(q => q.TodoModule) }
];

...
Use the todo-shell component as the default page in the todo feature module.
> src/app/todo/todo-routing.module.ts
...

import { TodoShellComponent } from './shells/todo-shell/todo-shell.component';

...

const routes: Routes = [
  { path: '', component: TodoShellComponent }
];

...
Modify the main application page app.component.html to use our defined routes.
> app.component.html

<router-outlet></router-outlet>
The
app.component.htmlshould only contain this one element for now. We’ll add more stuff as we go.
Import bootstrap into our application.
> src/style.scss

@import 'bootstrap/scss/bootstrap';
Save the changes and let’s check how our application looks!
It’s a blank page that only displays todo-shell works!. It might not look like much, but behind the scenes we’ve accomplished quite a lot!
- Enabled routing in our application
- Lazy loaded a feature module
- Configured the routing of our feature module
Setting up the User Interface
We’ll be using the components we’ve previously scaffolded. For now we just want show our user interface without logic.
Bootstrap has this weird caveit that you need to have a label in order for the custom checkboxes to work. Also you need a unique id for both that label and the input so that it works properly. To work around this, we can create a custom id by incrementing a number everytime our component get’s used. Below we are using the variable compId as our number, and returning the unique id as the component property id.
Todo item
> src/app/todo/components/todo-item.component.ts

import { Component, OnInit, Input } from '@angular/core';

var compId = 0;
@Component({
  selector: 'app-todo-item',
  templateUrl: './todo-item.component.html',
  styleUrls: ['./todo-item.component.scss']
})
export class TodoItemComponent implements OnInit {
  id = `todo-item-${compId++}`;
  constructor() { }

  ngOnInit() {
  }
}
> src/app/todo/components/todo-item.component.html

<div class="d-flex">
    <div class="custom-control custom-checkbox">
        <input type="checkbox" class="custom-control-input" id="item-">
        <label class="custom-control-label" for="item-"></label>
    </div>
    <span>This is a sample task</span>
    <span class="flex-fill"></span>
    <button class="btn btn-sm btn-outline-danger">Remove</button>
</div>
Todo list
Let’s prefill three items so our application doesn’t look so lonely.
> src/app/todo/components/todo-list.component.html

<div class="input-group mb-3">
    <input type="text" class="form-control" placeholder="Type a task you want todo!" aria-label="Todo name">
    <div class="input-group-append">
        <button class="btn btn-primary" type="button">Add</button>
    </div>
</div>
<ul class="list-group">
    <li class="list-group-item">
        <app-todo-item></app-todo-item>
    </li>
    <li class="list-group-item">
        <app-todo-item></app-todo-item>
    </li>
    <li class="list-group-item">
        <app-todo-item></app-todo-item>
    </li>
</ul>
Todo shell
> src/app/todo/shells/todo-shell.component.html

<section class="container my-5">
    <div class="mb-3">
        <h3 class="mb-1">Todo app</h3>
        <span class="text-muted">Number of todo's finished: 0</span>
    </div>
    <app-todo-list></app-todo-list>
</section>
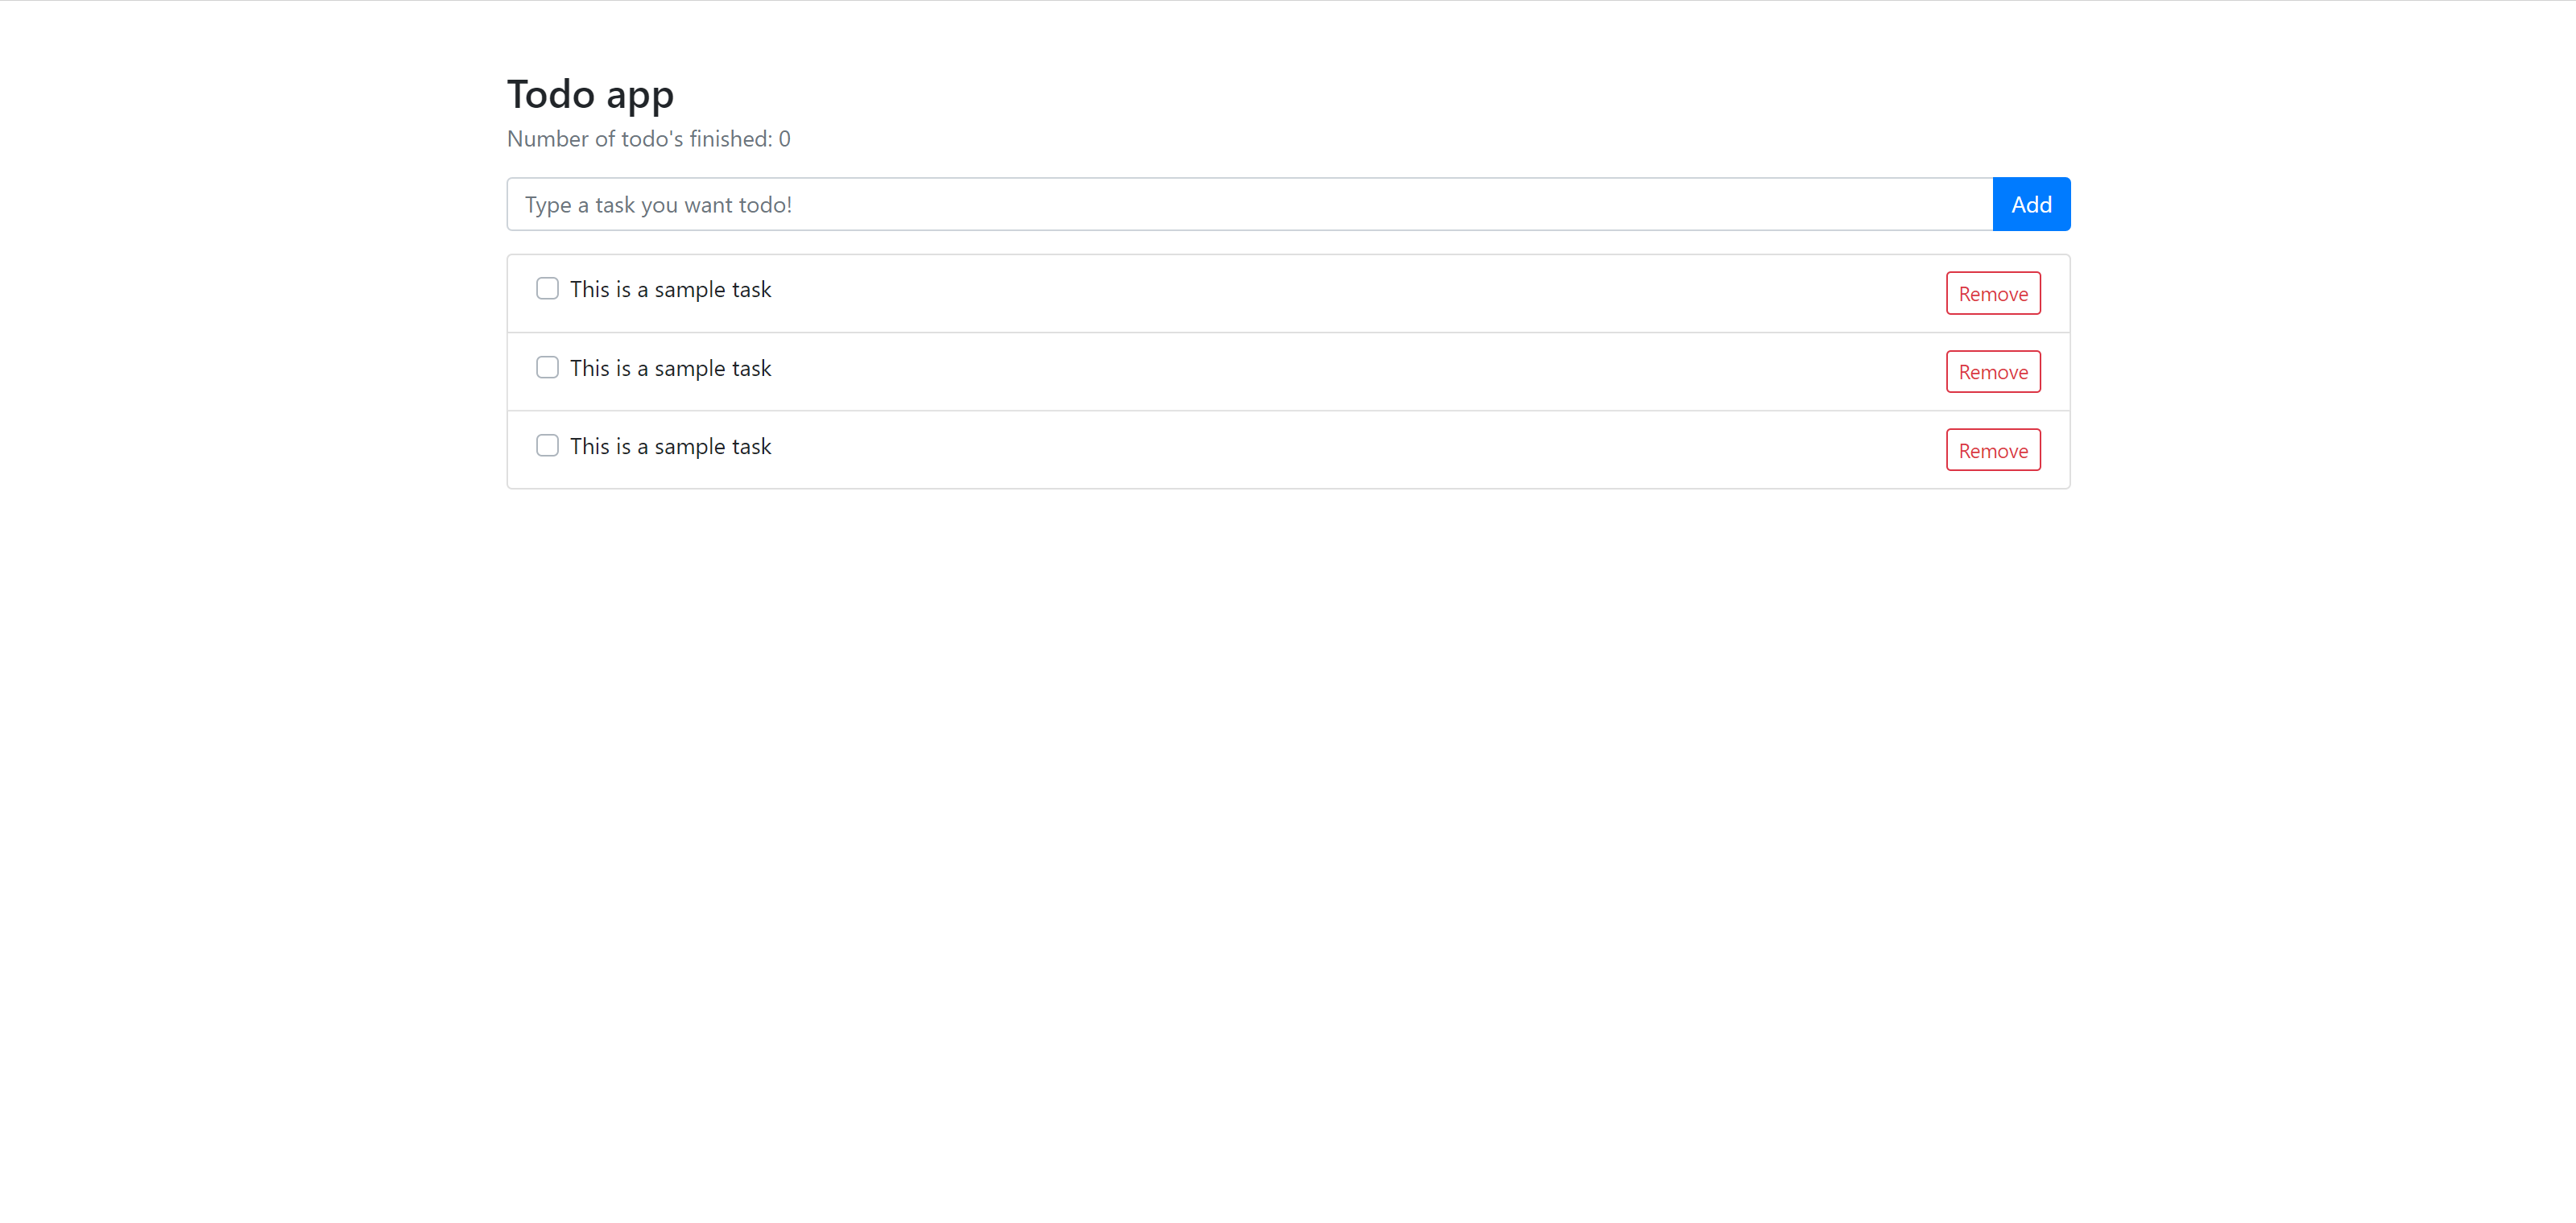
Let’s take a look at our application now that we’ve added some user interface. Nice! It’s looking like a real application now.
Adding Logic
We’ll be setting up our application logic first without the Flux. Then later on we will be modifying our application to use Flux.
Creating a Todo Class
Let’s represent our todos with a class so it’s easier to construct.
> src/app/todo/data/todo.ts

export class Todo {
    name: string;
    done: boolean;

    constructor(name: string, done: boolean = false) {
        this.name = name;
        this.done = done;
    }
}
Todo Item
We want our todo-item component to receive some state (task name, task status) and emit what actions we’re done to the item (toggled status, removed).
Displaying the Todo
Let’s setup our todo-item component so that it can receive a todo class and display the name of the todo and set the checkbox to checked if it is marked as done
> src/app/todo/components/todo-item.components.ts

import { ..., Input } from '@angular/core';
import { Todo } from '../../data/todo';

...


export class TodoItemComponent implements OnInit {
  @Input() todo: Todo;
> src/app/todo/components/todo-item.components.html

<div class="d-flex">
    ...
        <input [checked]="todo?.done" .... />

    ...
    <span></span>
    ...
</div>
The @Input() decorator allows us to pass in an instance of a todo class to our todo-item component as a component parameter which can be added like:
<app-todo-item [todo]="mytodo"></app-todo-item>
Toggling Done and Triggering Remove
Let’s add the capability to toggle the done property of our todo and also to remove a todo item.
> src/app/todo/components/todo-item.components.ts

import { ...., Output, EventEmitter } from '@angular/core';

...
export class TodoItemComponent implements OnInit {
  ...
  @Output() remove = new EventEmitter();
  @Output() done = new EventEmitter<boolean>();
> src/app/todo/components/todo-item.components.html

<div class="d-flex">
    ....

        <input .... (change)="done.emit(!todo?.done)" ....>

    ....

    <button ... (click)="remove.next()">Remove</button>
</div>
Similar to the @Input() decorator. The @Output() decorator allows a parent component to listen to events happening in the remove and checked fields. These outputs should always be an instance of a EventEmitter, the EventEmitter is simply an object that emits events either with value or without value. Here in our todo-item component there is no input type for the remove field as we only want to know if remove has been triggered, on the other hand we want to know what the value of done is when we trigger it.
When a event gets triggered on an output, you can call a method in the parent component to handle to get the details of that event and handle it accordingly. Angular passes these event values as a variable named $event.
<app-todo-item (remove)="removeTodo($event)" (done)="doneTodo($event)"></app-todo-item>
Todo List
We will keep the state of our todos and handle it’s events here. Let’s setup some uses cases for this component.
- Keep an array of todos to be displayed in the list.
- Add a todo.
- Toggle the
donestatus of a todo - Remove a todo from the list.
- Output an event that emits the number of todos that are
done.
There’s a pretty neat trick in Angular where binding to HTMLElements no longer require an
id(document.getElementBy...). Since Angular compiles our html files for us, we can add some attributes in our html file that let’s Angular add a variable to that element object. We can then use that variable to extract various data from the element like it’s value. These variables are calledTemplate Reference Variablesand can be added by using a#followed by the variable name e.g. (#contentDiv).
In the
todo-listcomponent, we will be using this trick to extract the value of theinputelement and pass it as a parameter to ouraddTodomethod.
> src/app/todo/components/todo-list.components.html

...
    <input #todoInput ...>
    ...
        <button (click)="addTodo(todoInput.value); todoInput.value = '';" ...>Add</button>
    ...

<ul ...>
    <li ... *ngFor="let todo of todos; let i = index;">
        <app-todo-item [todo]="todo" (remove)="removeTodo(i)" (done)="doneTodo(i, $event)"></app-todo-item>
    </li>
</ul>
The *ngFor directive allows our template to iterate through an array,
> src/app/todo/components/todo-list.components.ts

import {..., Output, EventEmitter } from '@angular/core';
import { Todo } from '../../data/todo';

...
export class TodoListComponent implements OnInit {

  todos: Todo[] = [];
  @Output() todosDone = new EventEmitter<number>();

  ...

  addTodo(name: string) {
    this.todos.push(new Todo(name))
  }

  ...

  removeTodo(index: number) {
    this.todos.splice(index, 1);
    this.updateCount();
  }

  ...

  doneTodo(index: number, done: boolean) {
    this.todos[index].done = done;
    this.updateCount();
  }

  ...

  updateCount() {
    const { length } = this.todos.filter(q => q.done);
    this.todosDone.emit(length);
  }
}
Todo Shell
Now that we have our todo-item and todo-list component. Let’s set our todo-shell component with the following use cases.
- Display a list of todos
- Display the current number of todos that are marked done
Let’s keep the current count of todos in a variable called doneCount
> src/app/todo/shells/todo-shell.components.ts

...

export class TodoShellComponent implements OnInit {
  doneCount = 0;

...
}
We will be listening to the todosDone event to update our doneCount variable and then display it.
<section class="container my-5">
    ....
        <span class="text-muted">Number of todo's finished: </span>
    ....
    <app-todo-list (todosDone)="doneCount = $event"></app-todo-list>
</section>
And that’s it. We now have a fully working TODO List Angular application!
Redux the Angular Way
We’ve got a working TODO List, now let’s apply the Redux pattern!
Implementing Flux the Angular Way can be described with one word. Observables!
The library we will be using
@ngrx/storeprovides all the tools we need to implement the Flux pattern wrapped in Observables which is very neat since Angular at it’s very core uses Observables (reference here). These Observables come from a library calledrxjswhich have implementations for a lot of languages, not limited to javascript.
Setting up @ngrx
Let’s start by defining the state of our entire application. Create a single file called app.state.ts which should be located in src/app/state/app.state.ts.
> src/app/state/app.state.ts

export interface State {}
The root state interface is empty since we don’t really have much state to store for the entire application, but we will define this here since we are going to be extending it later in our feature module. Defining the state interface also to enforce a strongly typed environment for our application.
Setup the Stores
Let’s initialize the @ngrx/store in our root application module. We can do this by importing the StoreModule and importing it with StoreModule.forRoot<State>({})
> src/app/app.module.ts


...
import { StoreModule } from '@ngrx/store';
import { State } from './state/app.state';
@NgModule({
  ....
  imports: [
    ....
    StoreModule.forRoot<State>({})
  ],
  ....
})
export class AppModule { }
The forRoot({}) function initializes the StoreModule with a set of reducers, since we’ve have no state to manage in the root application for now we can just pass in an empty object.
That’s it, we’ve wired up @ngrx/store in our root application. Now let’s wire it up on our feature module!
Doesn’t wiring it twice for the root application and the feature module defeat the purpose of having a centralized store? Wasn’t that supposed to be the whole concept of Flux?!! Don’t worry! The store is still centralized and is located in the root application, the purpose of defining it in the feature module is so that we can scope our reducers, actions, and selectors in a single feature module. If for example we add a chat feature module in our application, it wouldn’t make sense for the chat module to use the state defined for our todo feature. In shorter terms, we’re doing this to scope our Stores.
Let’s define a state for the Todo feature module. Let’s create our state types inside the folder src/app/todo/state/index.ts
> src/app/todo/state/index.ts


import { createFeatureSelector, createSelector } from '@ngrx/store';
import * as fromRoot from '../../state/app.state';
import { Todo } from '../data/todo';

export const featureName = "todo";

export interface TodoState {
    todos: Todo[],
    doneCount: 0
}

export interface State extends fromRoot.State {
    todo: TodoState
}
Let’s break this down. We don’t want to properties from the todo feature module level going down to the application root level as this defeats the whole purpose of lazy loading our routes.
We want our entire todo feature module only to be loaded when needed. To solve this we are instead extending the application root state, and adding state that is useful to the todo feature module.
Setup our Actions
We are going to define the actions we are going to dispatch to our store.
We can use the createAction method provided by @ngrx/store, to simplify creating an action.
> src/app/todo/state/action.state.ts

import { createAction } from '@ngrx/store';
import { Todo } from '../data/todo';

export const addTodo = createAction('[Todo List] Add Todo', (todo: Todo) => ({ todo }));
export const doneTodo = createAction('[Todo List] Toggle Todo Status', (index: number, done: boolean) => ({ index, done }));
export const removeTodo = createAction('[Todo List] Remove Todo', (index: number) => ({ index }));
Hey wait! Don’t we need to update the count of task that are done?
The count of task that are done can be extracted from our feature module state. We can watch for changes in the todo array and update our count accordingly.
Setup our Reducers
> src/app/todo/state/reducer.state.ts

import {  createReducer, on, Action } from '@ngrx/store';
import { addTodo, doneTodo, removeTodo } from './action.state';
import { Todo } from '../data/todo';


export interface TodoState {
    todos: Todo[],
    doneCount: 0
}

let initialState: TodoState = {
    todos: [],
    doneCount: 0
}

const todoReducer = createReducer(initialState,

    // Add a todo
    on(addTodo, (state: TodoState , { todo }) => ({
        ...state,
        todos: [...state.todos, todo]
    })),

    // Update todo
    on(doneTodo, (state: TodoState, { index, done }) => ({
        ...state,
        todos: state.todos.map((q, ix) => ix === index ? {...q, done} : q)
    })),

    // Remove todo
    on(removeTodo, (state: TodoState, { index }) => ({
        ...state,
        todos: state.todos.filter((_, ix) => ix !== index)
    }))
)

export function reducer(state: TodoState | undefined, action: Action) {
    return todoReducer(state, action);
}
We are wrapping our
todoReducerconstant in areducerfunction as this fails build in the production configuration. More information here.
Setup our Selectors
A selector is similar to a stored procedure. Except, it can only fetch data and not change data. Selectors make it easier for us to get the data we want from the store.
Let’s create our selectors in todo feature module state folder as an entry file (index.ts) and export our actions and reducer files at the same time. This way importing all our actions, reducers and selectors will come from the state folder.
e.g.
// fromTodo.* contains all the methods and constants
// that our feature module store needs.
import * as fromTodo from './state'
> src/app/todo/state/index.ts

import { createFeatureSelector, createSelector } from '@ngrx/store';
import * as fromRoot from '../../state/app.state';
import { TodoState } from './reducer.state';

export const featureName = "todo";
export interface State extends fromRoot.State {
    todo: TodoState
}
export * from './action.state';
export * from './reducer.state';


const featureSelector = createFeatureSelector<TodoState>(featureName);

export const getTodos = createSelector(
    featureSelector,
    state => state.todos
)

export const getDoneCount = createSelector(
    featureSelector,
    state => state.todos.filter(q => q.done).length
)
Modify our Components
We can keep todo-item component as is and start with our todo-list component instead. This is because we want to classify our todo-item component as a dumb component whose job is merely to display our todo and emit clicks from the buttons. The todo-list on the other hand does all changes to our application’s state.
Our first job is to relieve the todo-list component of it’s role of changing the state, and delegate all the state changes to the reducer we made earlier. The reducer then classifies what action should be taken based on what action was dispatched by the store. We want our todo-list component to merely display our state.
First let’s modify our variables! It’s common practice in the usage of Observables to name them with a “$” prefix.
> src/app/todo/components/todo-list.component.ts

...

import { Observable } from 'rxjs';

...

export class TodoListComponent implements OnInit {
  // todos: Todo[] = [];
  $todos: Observable<Todo[]>;
Now let’s use the store to get all the todo’s from our application’s state.
> src/app/todo/components/todo-list.component.ts

...
import { Todo } from '../../data/todo';
import { Store } from '@ngrx/store';
import * as fromTodo from '../../state';
import { Observable } from 'rxjs';

...

export class TodoListComponent implements OnInit {
  // todos: Todo[] = [];
  $todos: Observable<Todo[]>;

  // We no longer need this event, we can handle this with the store.
  // @Output() todosDone = new EventEmitter<number>();

  constructor(private store: Store<fromTodo.TodoState>) { }

  ngOnInit() {
    this.$todos = this.store.select(fromTodo.getTodos);
  }
Here we are using the selector we created earlier to fetch all the todos from the state.
> src/app/todo/state/index.ts
...

const featureSelector = createFeatureSelector<TodoState>(featureName);
export const getTodos = createSelector(
    featureSelector,
    state => state.todos
)
Since we modified the todos variable to become an Observable $todos. We can simply add the async pipe in Angular to our html template.
...
<ul ...>
    <li ... *ngFor="let todo of $todos | async; let i = index;">
        ...
    </li>
</ul>
Now let’s modify our methods to use the actions we created earlier.
addTodo(name: string) {
    this.store.dispatch(fromTodo.addTodo(new Todo(name)));
}

removeTodo(index: number) {
    this.store.dispatch(fromTodo.removeTodo(index));
}

doneTodo(index: number, done: boolean) {
    this.store.dispatch(fromTodo.doneTodo(index, done));
}

// Remove the update todo method.
// updateTodo() {

// }
Nice! We’re almost done. We just need to update our todo-shell component to listen to changes in the store instead of the todosDone event we used earlier.
Let’s transform the doneCount variable to an Observable. And then listen to changes in the store to update the $doneCount variable using the selector we created earlier.
> src/app/todo/state/index.ts

...

export const getDoneCount = createSelector(
    featureSelector,
    state => state.todos.filter(q => q.done).length
)

...
> src/app/todo/shells/todo-shell.component.ts
...

import { Store } from '@ngrx/store';
import * as fromTodo from '../../state';
import { Observable } from 'rxjs';
...

export class TodoShellComponent implements OnInit {
  //doneCount: number = 0;
  $doneCount: Observable<number>;


  constructor(private store: Store<fromTodo.State>) { }

  ngOnInit() {
    this.$doneCount = this.store.select(fromTodo.getDoneCount);
  }
Alright we’re all set! Let’s run the app again and we should have the same behavior as earlier!
Sauce?
No worries, the source code for this article is publicly available at https://github.com/judedaryl/angular-redux
There are two folders in the source folder. Which has the application before and after we applied Redux.
What’s next?
We’ve barely scratched the surface and there are a lot more of exciting things to learn! Below are some challenges you could do to enhance your knowledge.
- When adding a todo, add it on the top instead of on the bottom.
- Optimize the application by determining what needs to stay in our stores and what needs to be removed.
- Creating a backend server to store our todos.
- Adding @ngrx/effects to bind http calls to our actions.
- Using the @ngrx/redux-devtools to debug our application’s state.